


Galeria (5)
Photo © B-Water Studios

Photo © B-Water Studios
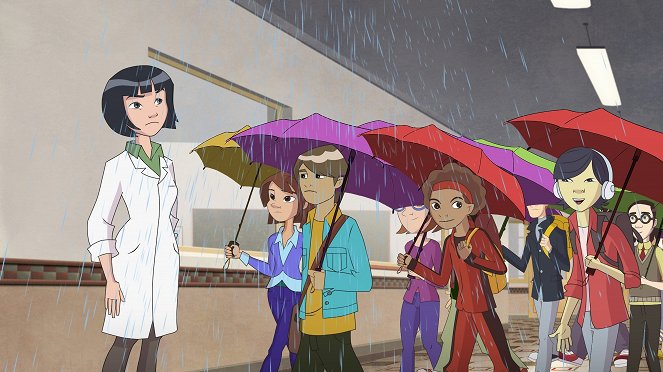
Photo © B-Water Studios
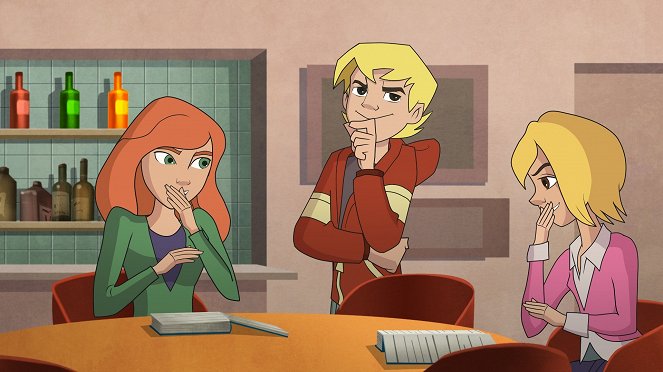
Photo © B-Water Studios

Photo © B-Water Studios

Photo © B-Water Studios
Photo © B-Water Studios
Photo © B-Water Studios
Photo © B-Water Studios
Photo © B-Water Studios